Downloading and Installing the PRM
Follow these instructions for downloading and installing the PRM:
- To download the PRM as part of the signup process, go to the MedKaz Server signup page (http://medkaz.com/medkazsignup) and click Downloads. If you have completed the signup process and want to download the PRM, log on to the MedKaz Server with your provider name and password, go to Manage My Account, and click Downloads.
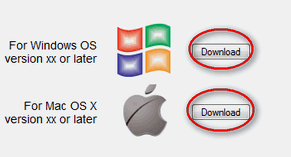
- Click the Download button next to the appropriate version of the PRM:
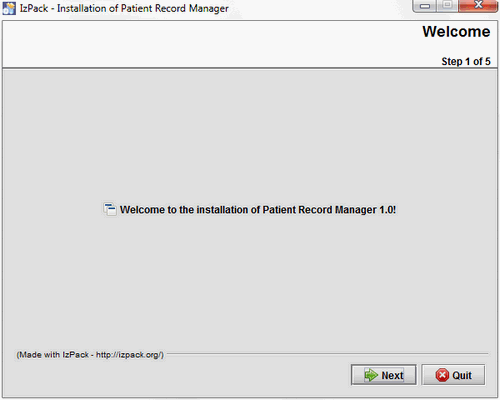
- Locate the downloaded file and double click on it to begin the installation; the following screen appears:
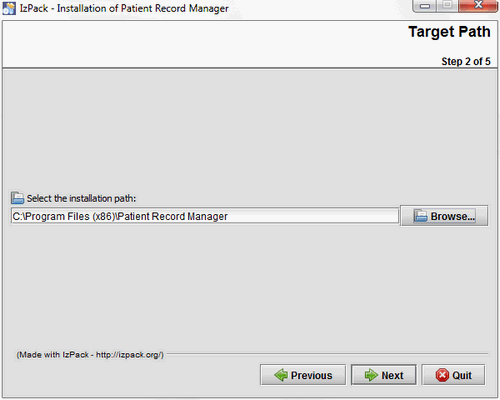
- Click Next to specify the installation location. Accept the default or use Browse to select an alternate location for the PRM files to be installed:
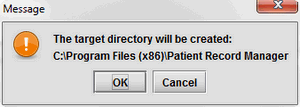
- Click Next and confirm the location by clicking OK:
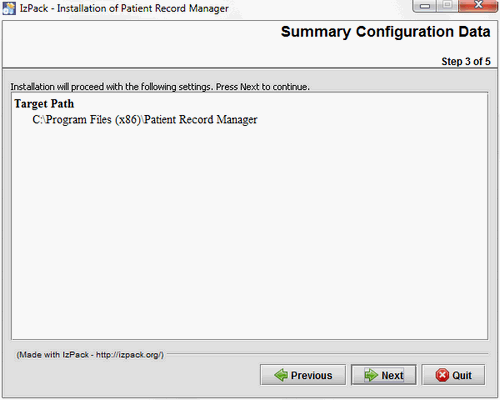
- Click Next on the screen to begin the installation:
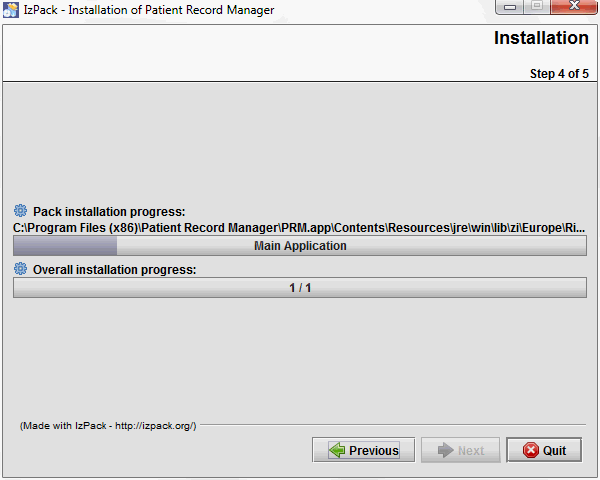
- When the installation begins, a completion indicator shows the progress. The installation only takes a few minutes.
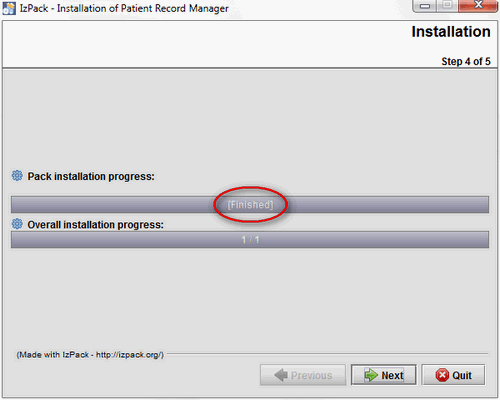
When the completion indicator says Finished, click Next:
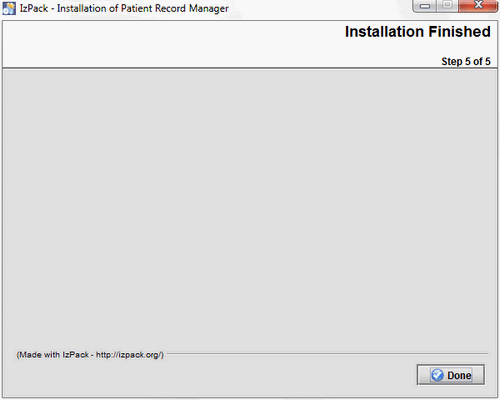
Then click Done:
- If Windows encounters a problem swith the installation, the following screen appears:
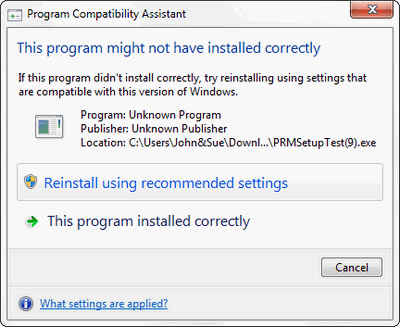
Click Reinstall using recommended settings, and repeat steps 3-6. Make sure you specify the same installation directory, and click Yes when you see the prompt:

- Once the installation completes, open the directory where the files were installed and right-click on the PRM.EXE file:
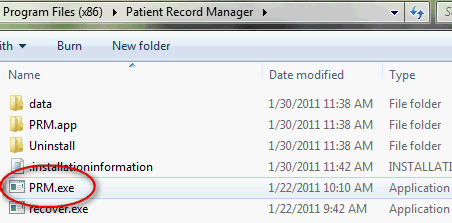
From the menu that appears, select Create Shortcut and click Yes in the following prompt:
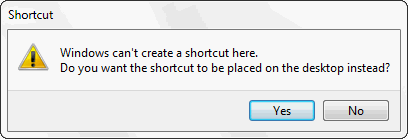
- The PRM icon appears on your desktop.

